Make a Personalised Photo Memory Box for a New Baby
October 03, 2026 - Handmade Gifts


October 03, 2026 - Handmade Gifts
September 30, 2026 - Craft Ideas
September 28, 2026 - Home Decor
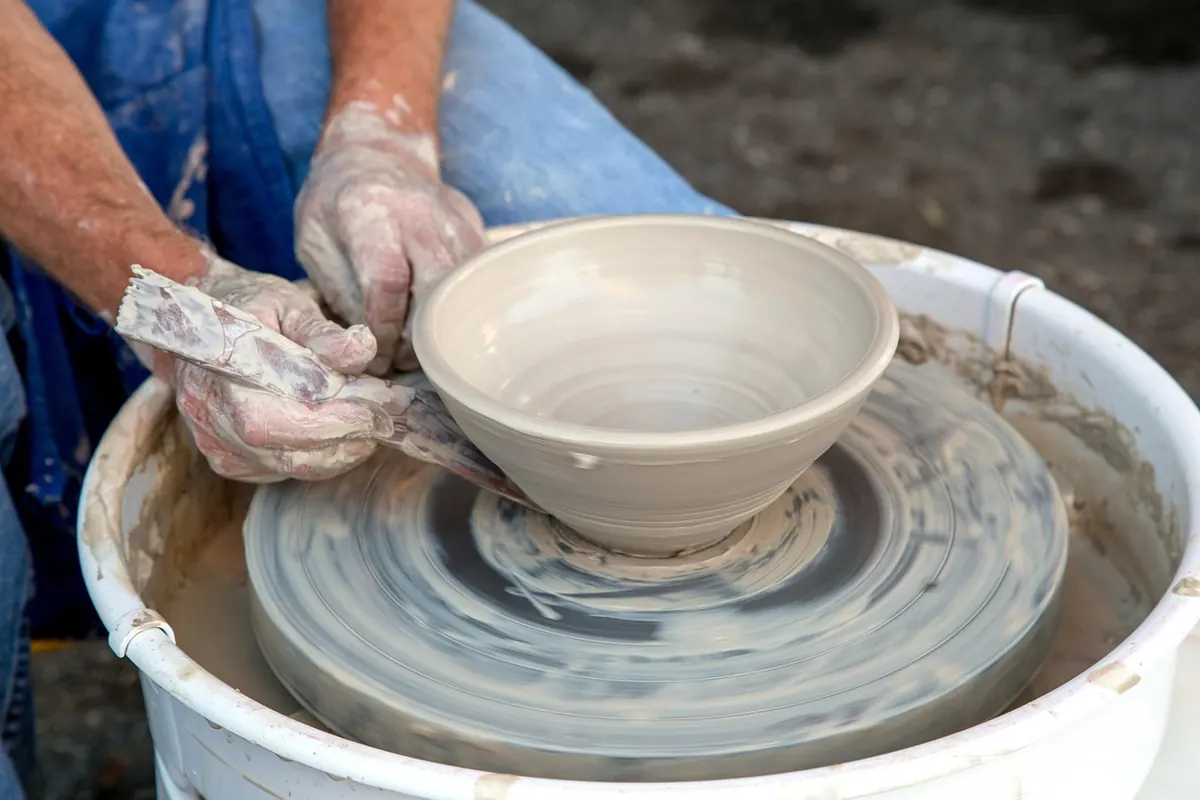
Both clays sit on the same shelf in most craft shops, and beginners often grab whichever tub is closest. Take them home and they quickly show their differences: one hardens on the windowsill, the other only sets once it has been in an oven. Choosing the wrong one for a project is the quickest way to end up with a snapped earring or a cracked bowl. Here is how they compare in practice.
Air-dry clay is water-based. It hardens as the water evaporates, which means the room does the work, not you. A thin, flat piece might be firm within a day; a solid sculpted figure can take several days, and a chunky lump can take a week or more to dry right through. Turn pieces occasionally so air reaches all sides, and keep them away from radiators and direct sun, because drying too fast is what causes cracking. Expect some shrinkage as the water leaves, so don't wrap air-dry clay tightly around anything rigid.
Polymer clay is completely different. It stays soft and workable at room temperature, so you can leave a half-finished piece overnight and pick it up again the next day, or the next month. It only hardens when you cure it in a domestic oven, typically for around 15 to 30 minutes depending on thickness. Always follow the temperature and timing on your brand's packet, because formulations vary, and bake in a well-ventilated room. Underbaked pieces stay brittle and can crumble; overbaked pieces darken, which shows badly on pale colours. An oven thermometer is worth the small outlay, since dials on older ovens drift.
Tip: for delicate polymer shapes, rest the piece on a tile lined with baking parchment and tent a sheet of foil over the top. It protects fine edges and stops shiny spots forming.
Freshly dried air-dry clay is porous and slightly chalky. Left bare, it marks easily and will soften if it gets wet, so seal anything you want to keep with an acrylic varnish or medium, or a coat of PVA glue as a budget option. Thin sections snap, and small protruding details chip. Paper-based air-dry clays and stone-style ones are more robust, but even then, this is a material for decorative pieces rather than mugs or planters that live outdoors.
Correctly cured polymer clay is firmer and holds fine detail beautifully. It can be sanded, carved, drilled and buffed to a soft sheen. It copes with occasional splashes once sealed, but it is not dishwasher-safe and shouldn't be soaked. Thin, unsupported shapes remain fragile, so use a few millimetres as a minimum for anything structural. Never put polymer clay in a microwave, and follow the manufacturer's safety instructions about ventilation while baking.
Your basic kit overlaps a fair amount, then splits. Start with a craft knife, acrylic roller or rolling pin, a smooth work mat, small cutters, cocktail sticks for holes and detail, and wet wipes for your hands.
One rule matters more than the rest: clean your tools and hands between the two materials. Water-based air-dry residue worked into polymer clay makes it crumbly and awkward to smooth.
You can combine the two, by the way. Bake your polymer elements first, then press them into air-dry clay while it is still damp, or glue them in once it has dried and been sealed. Just don't put finished air-dry work back in the oven.
If you mainly want jewellery, charms and small detailed pieces, buy polymer clay, an oven thermometer and a cheap pasta machine. If you want to sculpt, make dishes or work with children at the kitchen table, air-dry clay is the friendlier choice, with a tub of varnish to finish.
Either way, resist buying a full kit before you've finished one small project. Make a single coaster or a pair of simple stud earrings, learn how the material behaves in your hands and in your drying space, then expand. Freshly sealed air-dry pieces need a day or two of patience; polymer rewards a careful twenty minutes at the oven. Both are cheap enough to practise with, which is exactly the point.
Photo: huntlh / Pixabay
Turn a plain wooden box into a keepsake for baby's first year, using paint, decoupage and labels to store tiny...
A friendly beginner's guide to crochet using UK terms, from choosing yarn and hooks to making your first granny...
October 03, 2026 - Handmade Gifts
September 30, 2026 - Craft Ideas
Copyright © 2026 Ideal Craft. All Right Reserved.