Make a Personalised Photo Memory Box for a New Baby
October 03, 2026 - Handmade Gifts


October 03, 2026 - Handmade Gifts
September 30, 2026 - Craft Ideas

September 28, 2026 - Home Decor
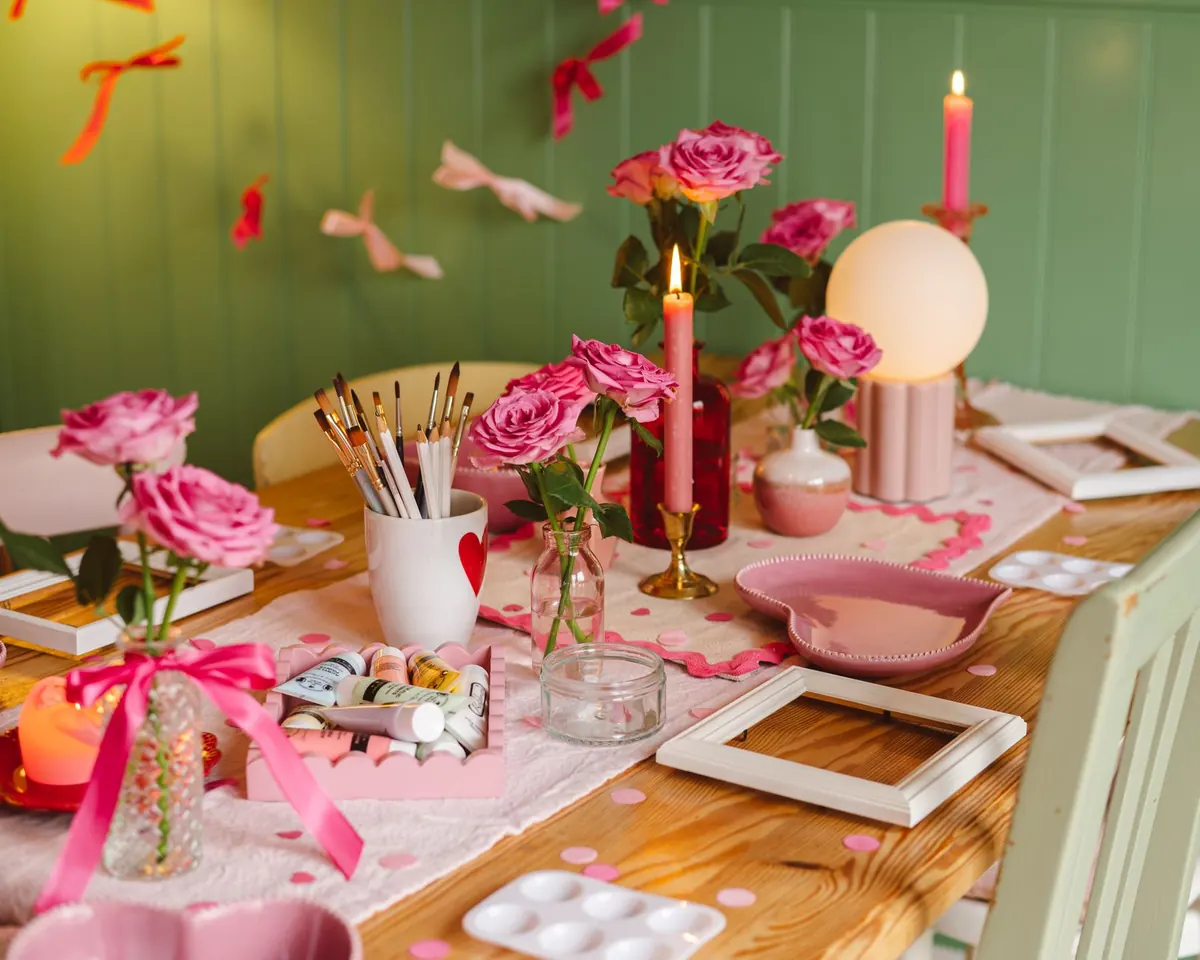
There is a particular kind of mess that only appears when eight people get the same box of felt out at once: sequins under the chair, a glue stick with no lid, and one guest quietly holding a half-finished wreath while waiting for the scissors. None of it is a disaster — as long as you planned for it.
A good craft party is not about owning the most supplies or choosing the most impressive project. It is about clearing small obstacles before anyone arrives, so the afternoon can be spent making things and talking. Here is the whole arc, from the first invitation to the last bin bag.
Vague briefs stall a room. "Make something seasonal" leaves people staring at a table of pinecones; "decorate a felt wreath" gives them a job. Pick one project with a visible finish line, and choose something that takes roughly an hour and a half to complete, allowing for chatting.
Then think about numbers. In a home, six to ten guests is comfortable. Above that, you need a hall, more table space than you think, and probably a second pair of hands. Two to three hours is a good length: long enough to settle in, short enough that nobody flags.
Choose a project with an obvious finishing line. A clear task keeps a room busy; an open one keeps everyone asking you what to do next.
Make a sample beforehand. It shows people what they are aiming for, it forces you to test the instructions, and it gives you a spare to photograph or display.
Most party-day questions can be answered before they are asked. Send details in writing, even for close friends, and include:
Think in terms of tasks rather than people. One table for cutting, one for assembly, one for painting, and one for finishing and packing. Grouping tools by job means nobody has to cross the room for a needle, and it keeps sharp or hot equipment in predictable places.
Allow about 60cm of table width per person — more if the project involves rolling, spreading or large paper. Put a shared caddy between every two guests: scissors, glue, pencils, and a small dish for offcuts. Tape a strip of masking tape to the table edge as a pen and needle rest, and label storage boxes clearly so helpers can put things back.
Before everyone starts, gather the room and demonstrate the first step once, slowly. It saves you repeating yourself ten times, and it gives shy guests permission to begin.
Buy about a quarter more than you think you need. Extra materials are cheap; running out halfway through is what turns a pleasant afternoon into an apology. Keep a reserve box aside, and a few very simple extra kits for anyone who finishes early or brings an unexpected guest.
Your supply list will usually fall into five groups:
Print one simple instruction card per station. Keep it to a few steps, large type, and say where the finished piece goes next.
Serve food that can be eaten with one hand and does not leave grease or colour on fingers. Savoury first, sweet later, and nothing that bleeds. If anyone is using pale fabric or white clay, keep drinks on a separate side table — a tray on a low stool works well.
For hot drinks, a flask and a stack of mugs near the refreshment table beats carrying cups between workstations. Offer water in a jug with a few glasses. If there is a serious allergy in the group, keep packaging to hand, avoid loose bowls of nuts and sweets, and let the guest with the allergy choose first.
Clean-up goes faster if it is built into the layout. Put a bin bag at each table and a bowl on each for scraps, so offcuts are cleared as people work rather than swept up at the end. A washing-up bowl of warm soapy water near the sink handles brushes and paint pots in one go.
Give a fifteen-minute warning so people can finish their last step rather than abandoning a half-glued piece. Then, while guests pack their things, work around the room in a loop: bins, surfaces, floor, tools. Ask one friend in advance to stay behind and help — twenty minutes with two people is worth an hour alone. Anything that is not urgent can wait until the morning.
The best sign that the planning worked is that nobody asks you for anything for twenty minutes straight. Sit down with a mug, pick up a piece of your own, and let the afternoon run.
Photo: Jilly Noble / Pexels
Turn a plain wooden box into a keepsake for baby's first year, using paint, decoupage and labels to store tiny...
A friendly beginner's guide to crochet using UK terms, from choosing yarn and hooks to making your first granny...
October 03, 2026 - Handmade Gifts
September 30, 2026 - Craft Ideas
Copyright © 2026 Ideal Craft. All Right Reserved.