Make a Personalised Photo Memory Box for a New Baby
October 03, 2026 - Handmade Gifts


October 03, 2026 - Handmade Gifts
September 30, 2026 - Craft Ideas
September 28, 2026 - Home Decor
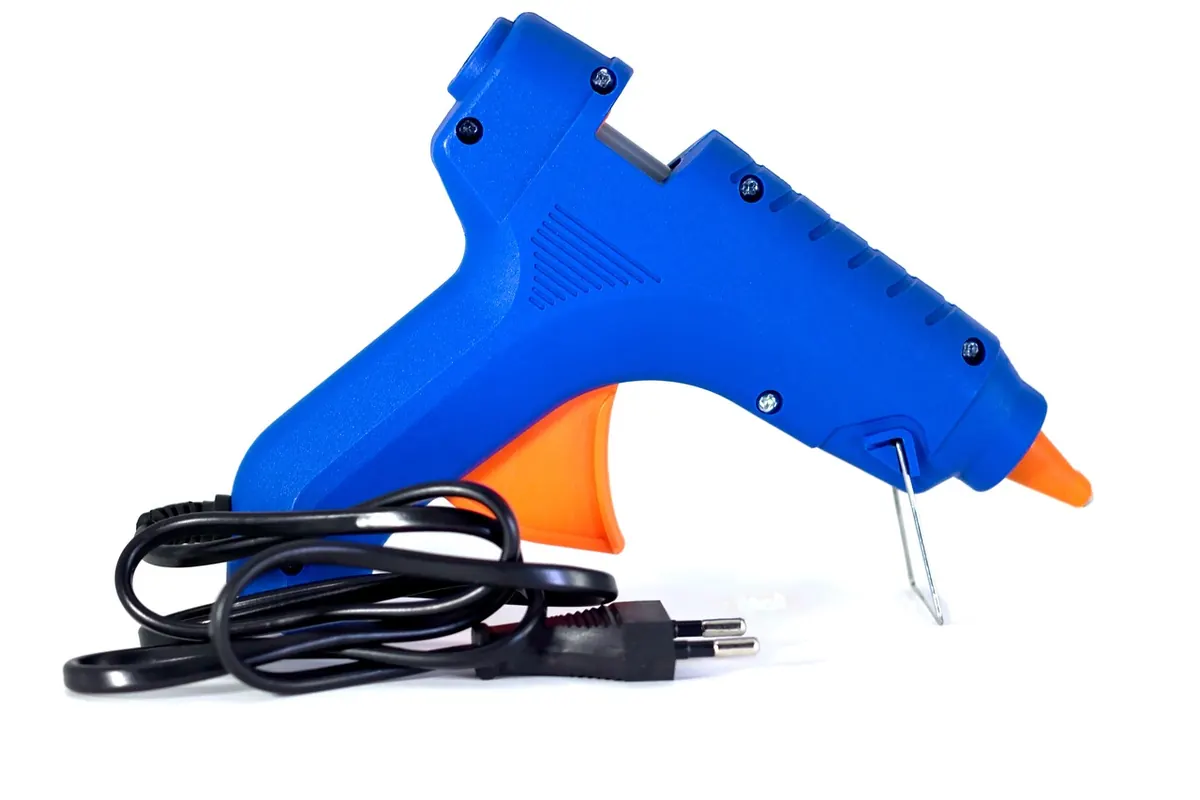
Glue guns are one of the most useful tools in a craft room, and one of the most forgiving. Right up until they aren't. A brooch that wobbles loose after a day, a photo mount that slides apart overnight, a scorched patch on a painted box: most glue gun disappointments come down to a few small habits that are easy to change. Here are the mistakes we see most often, and what to do instead.
Hot glue bonds to whatever it lands on, which means every bit of dust, grease, polish or moisture becomes part of the joint. A shiny plastic frame straight from the packaging is a classic failure: the glue sticks to the release agent, and the release agent lets go of the frame.
Give yourself two minutes before you plug anything in:
Glue sticks are not interchangeable. Cool-melt and low-temperature sticks are made for foam, ribbon, delicate fabric and anything that might scorch; standard and high-temperature sticks suit wood, ceramic, metal, thick card and joints that carry a bit of weight. Drop a cool-melt stick into a high-temperature gun and you get a runny, stringy mess that never quite sets. Put a high-temperature stick in a low-temperature gun and it will not melt properly, which is how nozzles get clogged.
Multi-temperature guns take some of the guesswork out, but the stick still has to match the job. Keep sticks in their original packaging or label them in a tub, and never mix two types in one gun.
A generous blob feels reassuring and holds no better than a thin line. Thick glue cools on the outside while staying soft in the middle, so the joint rocks and shifts. It also squeezes out at the edges, which means visible lumps and a lot of picking later.
What good looks like:
Hot glue skins over quickly, often within half a minute, so the joint has to be ready before the trigger is pulled. Dry-fit everything first, lay the pieces within reach, and know which way up they go. Once the glue is down, press firmly and hold still for twenty to thirty seconds. Sliding a piece to adjust it breaks the tack that has already formed; if you must move something, do it immediately, or warm the glue again with the nozzle tip and start over.
Strings appear when the nozzle is lifted while glue is still flowing. Release the trigger, hold the nozzle against the surface for a beat, then lift straight up and away. Any fine thread left behind can be twirled around the warm nozzle and flicked off, or left to cool and picked up with tweezers. Do not use your fingers.
It is a fast, forgiving tack-and-fill adhesive: excellent for card, foam, ribbon, felt, floristry and mock-ups. It is a poor choice for anything under load or exposed to heat, such as a mug that goes in the dishwasher or a repair inside a warm car. For those jobs, use an adhesive designed for the material and follow the manufacturer's instructions.
The glue and the nozzle are hot enough to blister skin on contact, and a gun left on a bench is a temptation to children and pets. A few habits prevent almost every accident:
Some joints simply need a hand while the glue sets. A clothes peg, an elastic band, a stack of books or a blob of removable putty will hold a piece in place far better than a wobbling hand. Before committing to a finished piece, glue two offcuts of the same material together and give them a gentle tug once cool. Polypropylene, polyethylene and anything with a silicone or non-stick coating often refuse to bond at all, and it is much easier to find that out on a scrap than on the finished project.
None of this takes long once it becomes habit. Set the gun on its stand and match the stick to the material. Clean, dry and key the surfaces. Dry-fit, mark the position, and have your clamp to hand. Run a thin bead, keep the nozzle moving, and stop the flow before you lift. Press and hold. Then tidy up: pull the strings once they are cool, and wipe the warm nozzle with a paper towel rather than your sleeve.
Do it that way three or four times and the glue gun stops being the tool that ruins a project and becomes the one that rescues it. That is roughly how it earns its permanent place on the bench.
Photo: Zhanat86 / Pixabay
Turn a plain wooden box into a keepsake for baby's first year, using paint, decoupage and labels to store tiny...
A friendly beginner's guide to crochet using UK terms, from choosing yarn and hooks to making your first granny...
October 03, 2026 - Handmade Gifts
September 30, 2026 - Craft Ideas
Copyright © 2026 Ideal Craft. All Right Reserved.