Make a Personalised Photo Memory Box for a New Baby
October 03, 2026 - Handmade Gifts


October 03, 2026 - Handmade Gifts
September 30, 2026 - Craft Ideas
September 28, 2026 - Home Decor
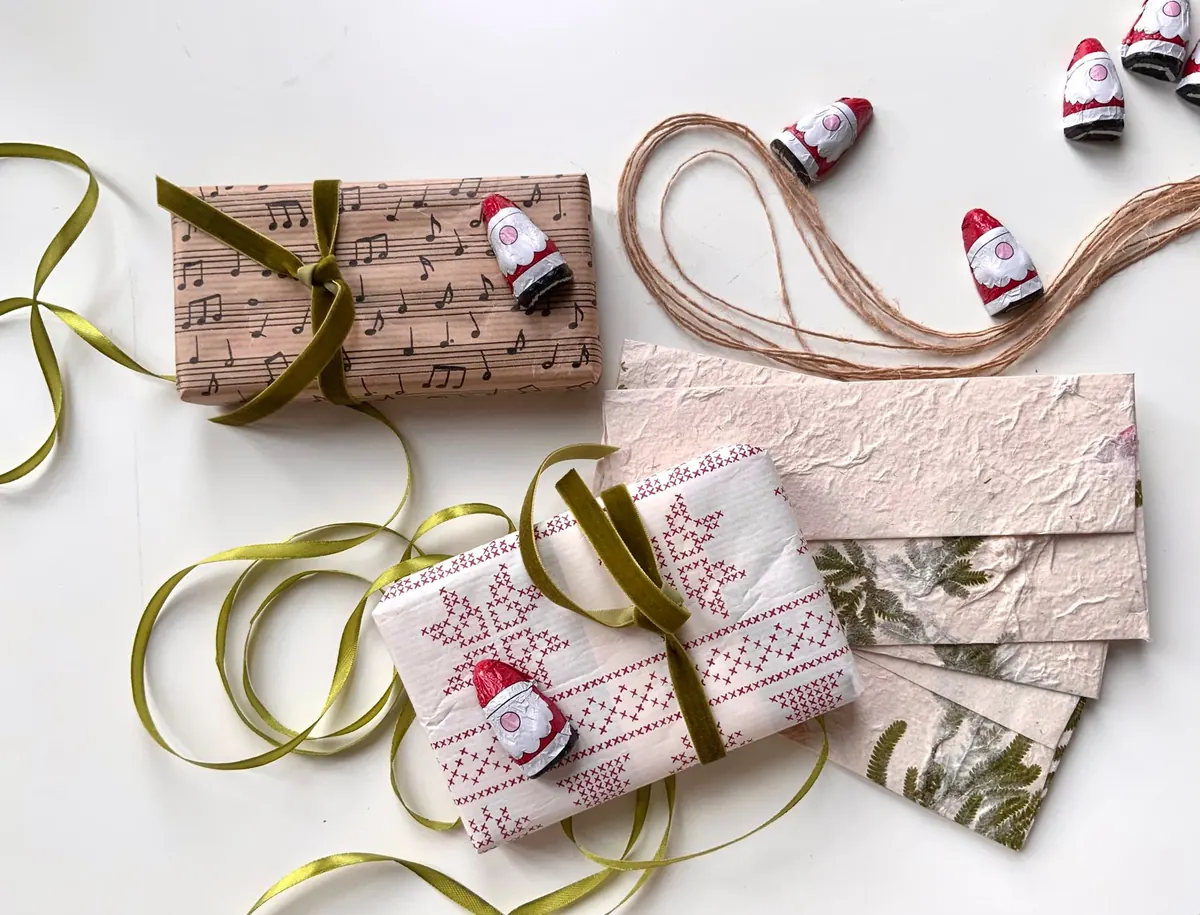
There's a moment in every handmade gift project when enthusiasm meets reality: the half-finished sock at the back of a drawer, the candle wax that set before the scent went in. Most of that comes down to choosing the wrong project for the time you actually have.
Everything below can be started on Saturday morning and wrapped by Sunday evening. Nothing needs specialist equipment, and most materials come from a craft shop, a supermarket or your own cupboard. Treat the timings as honest averages for a first attempt, not best-case numbers.
If you only take one thing from this list, take that last point. Gifts made in a rush look rushed, and the person receiving them can tell.
Time: about an hour · Cost: low, especially from scraps · Skill: beginner
Cut two rectangles of cotton, roughly 20cm by 30cm, right sides together, and sew around three and a bit sides. Turn it out, fill it two-thirds full with dried wheat or rice plus a tablespoon of dried lavender, then stitch the gap closed. A removable cover that slips off for washing is worth the extra twenty minutes. Warm it in short bursts in the microwave and always test the temperature against your wrist before it goes near anyone's skin.
Time: 90 minutes for four · Cost: very low · Skill: beginner
These replace wrapping paper and get reused for years. Cut a rectangle twice as wide as you want the finished bag, fold the top edge down twice to make a channel, and sew. Thread ribbon or cord through with a safety pin, then sew the side seams. Make three sizes: one for a bottle, one for a paperback, one for jewellery.
Time: 90 minutes to two hours · Cost: moderate, driven by fabric choice · Skill: confident beginner
No zip, no buttons, no tears. Measure your cushion pad, cut one front panel and two overlapping back panels, hem the back edges, then sew all four sides. Press the seams as you go, because an unpressed cushion cover looks homemade in the wrong sense.
Time: 20 minutes, plus a couple of weeks to infuse · Cost: low · Skill: beginner
Rub the zest of two unwaxed lemons or oranges into 500g of caster sugar with your fingertips until it smells like a whole bakery. Spread it on a tray to dry for an hour or two so it doesn't clump, then jar it. Avoid the white pith, which turns bitter.
Time: 30 minutes, plus chilling · Cost: low · Skill: beginner, good with children
Melt good chocolate, half-fill silicone moulds, and push a wooden spoon into each one before it sets. Chill until firm, then wrap in cellophane with a tag explaining that one stirrer goes into a mug of hot milk. Keep the marshmallows in a separate bag so they don't scorch.
Time: 20 minutes · Cost: low · Skill: beginner
Layer whole cinnamon, cardamom pods, cloves, star anise and black peppercorns in a tall jar, then tie on a card with brewing instructions: one teaspoon per cup, simmered in milk for five minutes. Whole spices look better than ground and keep their scent far longer.
Time: 30 minutes, plus chilling · Cost: low to moderate · Skill: beginner
Spread melted chocolate thinly on baking parchment, scatter with toasted nuts, dried fruit and a pinch of sea salt, then snap it into shards once set. Keep the layer thin — thick bark is hard to bite and looks clumsy in a bag.
Time: 45 minutes · Cost: low · Skill: beginner
Fold four or five A5 sheets in half, nest them inside a card cover, and punch three holes along the spine with a needle. Sew through the middle hole, out through the top, back through the middle and out through the bottom, then tie off inside. It's the simplest bookbinding stitch there is, and it holds remarkably well.
Time: two to three hours, plus drying · Cost: moderate for tools and ink · Skill: intermediate
Keep the design bold and remember that everything you cut away stays white. Text must be carved in reverse. Print a few test copies on cheap paper before you commit to your good stock, and sign and number each print in pencil along the bottom edge.
Time: 20 minutes each · Cost: low · Skill: beginner
Warm a sheet of beeswax gently with a hairdryer until it's pliable, lay the wick along one edge and roll tightly, pressing the seam closed. Trim the wick to about a centimetre and always burn on a heatproof dish, never unattended.
Time: two hours, mostly hands-off · Cost: very low · Skill: beginner
Slice unwaxed oranges about 3mm thick, pat them dry, and dry them on a rack in a low oven for two to three hours, turning once. Thread them onto twine with cinnamon sticks between, and hang them somewhere dry. In a damp kitchen they'll soften and spoil.
Time: 15 minutes · Cost: low · Skill: beginner
Mix Epsom salts with a little fine sea salt, dried petals and a few drops of essential oil, stirring well so the oil is evenly distributed. Label it clearly as a bath soak, not a food jar. If the recipient is pregnant, has sensitive skin or a medical condition, check with a pharmacist or midwife before adding essential oils, and patch test first.
The last ten per cent of a project is what people notice. A trimmed wick, a pressed seam, a neat label — these are the details that make something feel bought rather than botched.
Then stop. Two or three gifts you're proud of will always beat a dozen that you had to force over the line at ten o'clock on Sunday night.
Photo: Lydia Griva / Pexels
Turn a plain wooden box into a keepsake for baby's first year, using paint, decoupage and labels to store tiny...
A friendly beginner's guide to crochet using UK terms, from choosing yarn and hooks to making your first granny...
October 03, 2026 - Handmade Gifts
September 30, 2026 - Craft Ideas
Copyright © 2026 Ideal Craft. All Right Reserved.