Make a Personalised Photo Memory Box for a New Baby
October 03, 2026 - Handmade Gifts


October 03, 2026 - Handmade Gifts
September 30, 2026 - Craft Ideas

September 28, 2026 - Home Decor
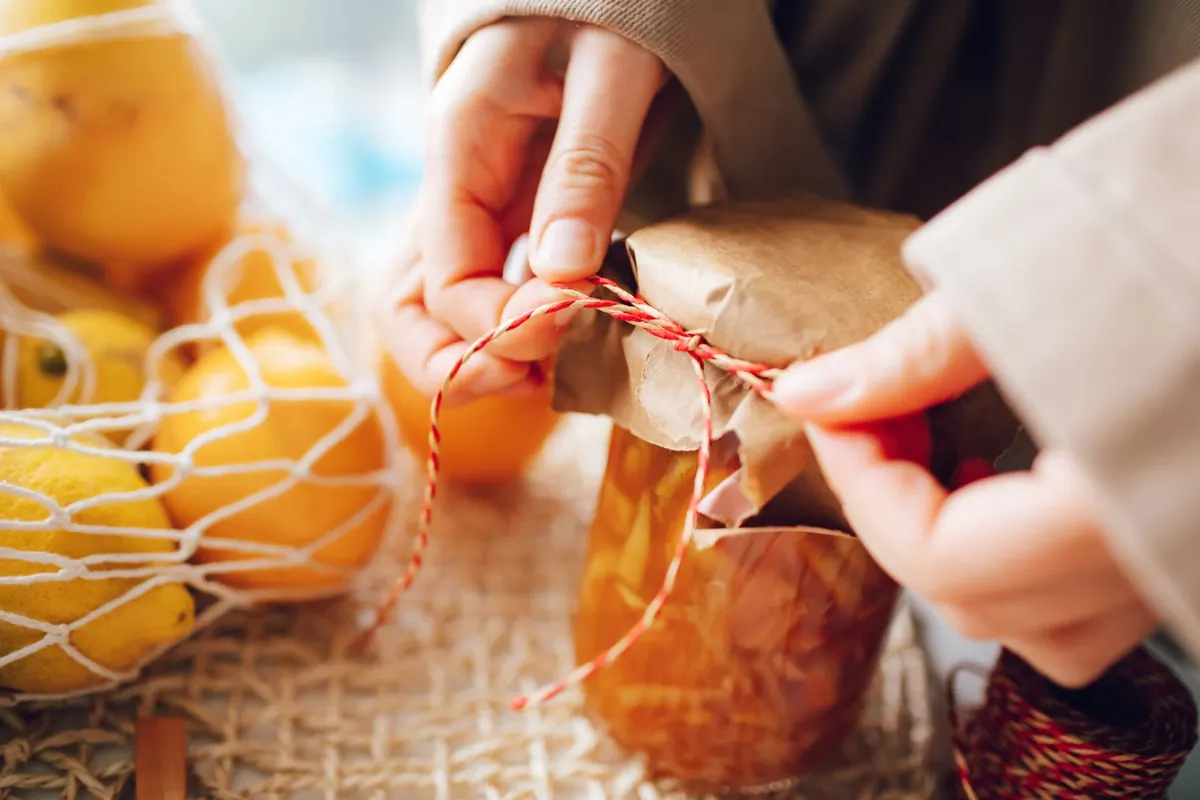
There is something quietly satisfying about a row of jam jars glowing on a garden table while the light fades early and the air turns cold enough for a jumper. You probably have three or four in the cupboard already — the ones with the thick, generous glass that held marmalade, chutney or last year's damson jam. An hour's work turns them into lanterns you will use every autumn for years.
Nothing here needs specialist tools. Most of it comes from the kitchen drawer: garden twine, a length of wire, torn tissue paper, a part-used tin of paint. If you can tie a decent knot and bend a piece of wire without losing your temper, you can make these.
Not every jar earns its place. Thick glass handles the warmth of a tea light far better than the thin, brittle sort that holds budget pasta sauce, and a wide neck makes it much easier to reach inside to light a candle or wipe out wax. Screw-top jars are the most useful, because the metal band gives you something to fix a handle to. Clip-top jars can be used, but keep the lid off while a candle is burning.
Check the rim for chips and hold the jar up to the light for hairline cracks. Anything cracked goes in the recycling, not on a garden table. Square jars look smart lined up along a windowsill, while fat, round ones suit a mantelpiece or a table centrepiece. Odd numbers grouped together always look better than pairs.
Soak jars in warm water with a good squirt of washing-up liquid for twenty minutes. Peel the label while the paper is soft, then scrub the inside with a bottle brush and rinse. Dry them upside down on a tea towel so the water drains out rather than pooling at the base.
A word on temperature: don't move a cold jar straight into boiling water, and don't pour hot water into a jar that has been sitting outside in the cold. The sudden change can crack the glass. Warm water is plenty.
Leftover adhesive is the fiddly part. Try a paste of bicarbonate of soda and a little water, worked in with your fingers, or a smear of cooking oil left for ten minutes before washing up as normal. A plastic scraper or an old loyalty card lifts residue without scratching; a kitchen knife does not. For anything really determined, white spirit on a cloth will do it — work near an open window, wear gloves, and wash the jar thoroughly afterwards before you put a candle anywhere near it.
The rule that keeps lanterns looking good and safe is simple: decorate the lower two-thirds and leave the neck clear. Paint, glue and fabric near the top will be affected by heat from the flame, and an unobstructed rim lets the light out properly. Never paint or line the inside of a jar you intend to put a candle in.
A few ideas that survive a bit of damp and a lot of handling:
Galvanised garden wire is the right material — string and ribbon look lovely but will scorch if a flame gets near them, so save those for battery lights. Wear gloves and keep a pair of pliers handy.
If your jar has a screw band, there's a quicker method: lay the wire across the neck, screw the band back on to trap it, then shape the loop above. No twisting required.
Stand your tea light on a bed of sand or horticultural grit. It keeps the candle level, catches drips and lifts the flame away from the glass. Never put the lid on a lit candle, and don't let a candle burn right down against the glass.
Never leave a burning candle unattended, and keep lit lanterns well away from children, pets, curtains and anything dry and flammable.
Glass gets hot, especially after an hour. Lift lanterns by the wire handle or with a folded cloth, and put them down on stone, slate, brick or a tile rather than straight onto a painted table, plastic cloth or dry grass. Outdoors, hang them from a shepherd's hook, a wall bracket or a sturdy branch, positioned so nobody walks into them. Bring them in before you go to bed.
For hanging in trees, along a fence or anywhere you might forget about them, use LED tea lights. They cost a little more up front, they don't blow out in a breeze, and you can leave them glowing without a second thought.
Five jars of different heights along a mantelpiece, spaced unevenly, will do more than a dozen crowded together. Raise one or two on a small stack of books or a slate coaster. On a garden table, sit three jars on a plank of wood or an old tray with a scattering of conkers, dried hydrangeas or hops around the base — it holds everything steady and makes the arrangement look deliberate.
Steps and ledges are made for lanterns: one at the top, one halfway, one at the bottom. A row along a fence rail or the arms of a bench works beautifully too. Keep them out of walkways rather than in the middle of the path.
Once autumn is over, tip out the grit and any wax remnants. A little warm water will loosen leftover wax, but scrape the bulk into the bin rather than washing it down the sink, where it will set and block the drain. Wash and dry the jars, check the wire for rust, and pack everything into a box lined with newspaper so handles don't tangle. Next October the whole job takes ten minutes.
Don't try to make twelve. Clean three jars, decorate two and leave one plain — plain glass often looks best of all, particularly with a good candle inside. Wire them, light them, and see how they look from the kitchen window. If they earn their place, add a few more next weekend, and by the time the clocks change you'll have a set that costs nothing but an afternoon.
Photo: ROMAN ODINTSOV / Pexels
Turn a plain wooden box into a keepsake for baby's first year, using paint, decoupage and labels to store tiny...

A friendly beginner's guide to crochet using UK terms, from choosing yarn and hooks to making your first granny...
October 03, 2026 - Handmade Gifts
September 30, 2026 - Craft Ideas
Copyright © 2026 Ideal Craft. All Right Reserved.