Make a Personalised Photo Memory Box for a New Baby
October 03, 2026 - Handmade Gifts

October 03, 2026 - Handmade Gifts
September 30, 2026 - Craft Ideas
September 28, 2026 - Home Decor
Hand embroidery rewards patience more than talent. If you can thread a needle and tie a knot, you already have the two skills everything else is built on. The rest is muscle memory: a small set of stitches, repeated until your hands know them without being told. What follows is the kit worth owning, the ten stitches that do most of the work, and a few practice patterns to try this week.
It is easy to spend a lot on embroidery supplies before you have sewn a single stitch. Don't. For your first few months, four things will see you through.
Add small sharp scissors you keep only for thread, a water-soluble fabric pen or a fine pencil, and a needle threader if threading is fiddly. Keep the lot in a tin. That is the whole kit.
Three habits will improve your stitching faster than any new technique.
Get the fabric drum-tight. Loosen the outer ring, drop the inner ring in, lay the fabric over it and press the outer ring down. Pull the fabric edges gently as you tighten the screw until the surface sounds like a drum when you tap it. If the fabric slips, it was not tight enough; if the weave looks stretched, ease off.
Separate your strands one at a time. Cut a length about 40cm — roughly from your fingertips to your shoulder — then hold the end and peel off single strands rather than pulling a clump. Recombine the number you need. Thread prepared this way tangles far less.
Start and finish tidily. Beginners are often taught to knot, but knots pull through and leave lumps. Instead, make a small anchoring stitch on the back, or run the tail under the back of a few stitches once you have sewn a short distance. To finish, take the thread to the back and weave it under four or five existing stitches before snipping.
Nearly every project in this craft is a combination of a handful of moves. Learn these ten and you can stitch outlines, flowers, lettering and borders.
Running stitch is the simplest of all: bring the needle up, take small even stitches along your marked line, keeping the gaps about the same length as the stitches. It suits outlines, gathering and quilting, but it is also the least forgiving — uneven spacing shows immediately, so draw a line first.
Backstitch makes a solid, unbroken line. Bring the needle up a stitch length ahead, then go back down into the end of the previous stitch and repeat. It is the stitch for crisp outlines, lettering and anything that will be handled often.
Stem stitch is worked along the line from left to right, taking short backward stitches and always keeping the working thread on the same side of the needle. Keep the thread consistently below the needle and you get a neat rope-like twist; keep it above and the line sits flatter and smoother. Whichever you choose, do it the same way for the whole line.
Split stitch is worked like backstitch, except the needle comes up through the middle of the previous stitch, splitting the thread. It gives a fine, slightly raised line that is perfect for curving stems, and it makes an excellent outline to satin stitch over, because the raised edge keeps the filling tidy.
Chain stitch. Bring the needle up, hold the thread down with your thumb, and take the needle back down almost where it came up, coming up again a short distance ahead with the thread looped under the needle point. Pull through gently to form the loop, then start the next stitch inside it. Worked in a row, it makes a bold, decorative line; worked in circles, it fills shapes quickly.
Lazy daisy is a single detached chain loop, caught at the tip with a tiny stitch. Five of them arranged around a French knot make a flower in under a minute.
Satin stitch fills a shape with straight, parallel stitches laid snugly side by side. Work from the middle of the shape outwards so the edges stay straight, and resist pulling hard — tight stitches make the fabric pucker and the filling collapse into a dip. Outline the shape first in split stitch if you want sharp edges.
Seed stitch, sometimes called seeding, is a scattering of tiny straight stitches worked randomly across an area, one to three threads long. It adds texture and gentle shading without any need for precision, and fills large leaves quickly.
French knot. Bring the needle up, wrap the thread around it twice, then take the needle down a thread or two away from where it came up, keeping the wraps taut as you pull. Two wraps is plenty; more gives a wobbly blob. This is the classic flower centre and the dot on an eye.
Blanket stitch is an edging. Bring the needle up below the edge, take it down above and bring it back up with the thread looped under the needle point, spacing the stitches evenly. Worked around a napkin hem, it makes a neat, hard-wearing border that survives the wash.
Don't unpick unless the mistake is structural. A finished piece with slightly uneven stitches teaches you more than a perfect one you abandoned in frustration. When the work is done, press it face down on a folded towel, wash it gently only if the fabric allows, and either frame it in
Photo: Compose_the_Seen / Pixabay
Turn a plain wooden box into a keepsake for baby's first year, using paint, decoupage and labels to store tiny...
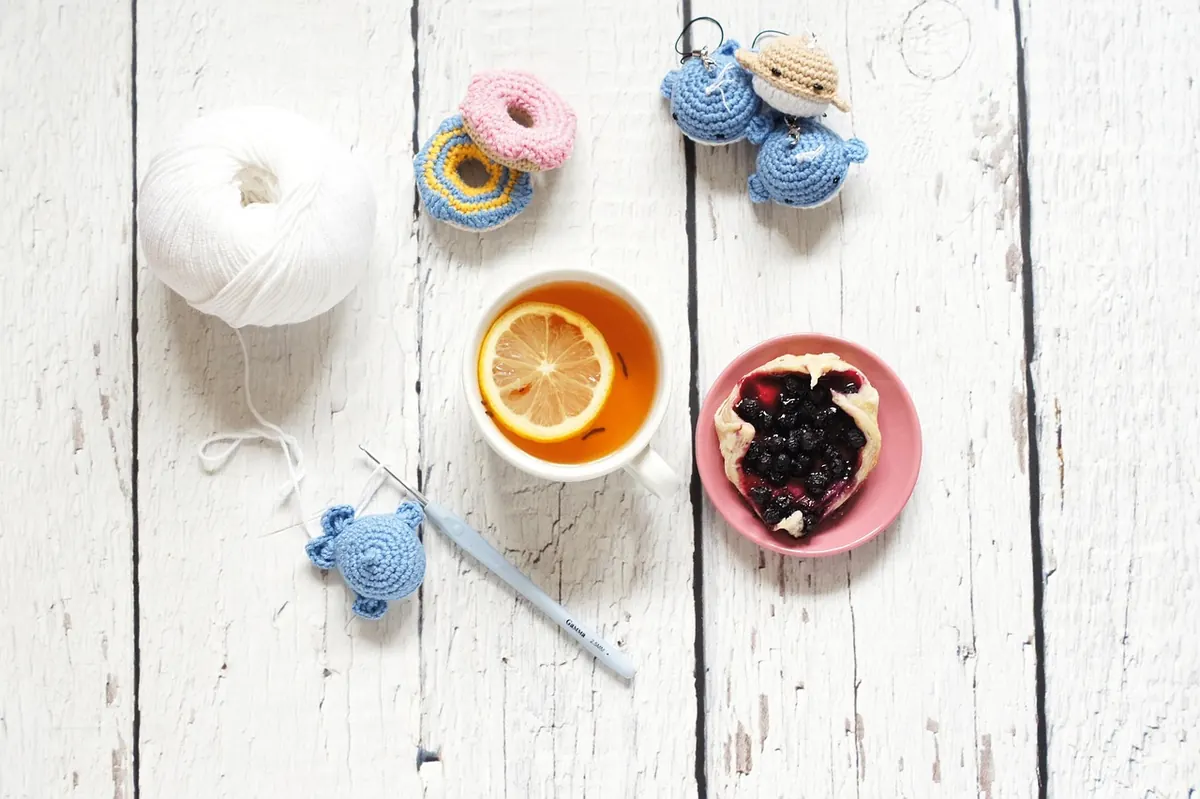
A friendly beginner's guide to crochet using UK terms, from choosing yarn and hooks to making your first granny...
October 03, 2026 - Handmade Gifts
September 30, 2026 - Craft Ideas
Copyright © 2026 Ideal Craft. All Right Reserved.